
1. boost 라이브러리를 다운 받는다. (기준 15.04.16 , VS2013용)
– http://sourceforge.net/projects/boost/files/boost/1.57.0/
– 파일: boost_1_57_0.zip
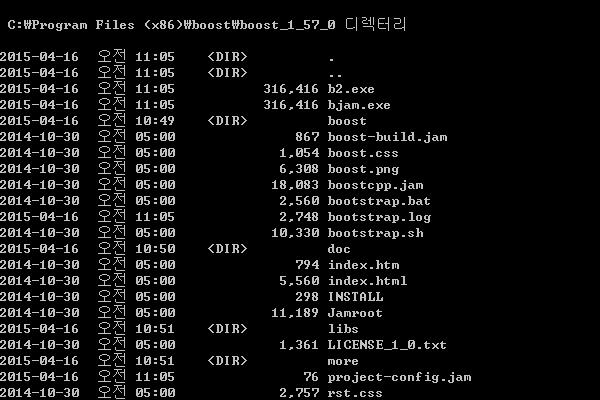
2. boost 라이브버리의 압축을 푼다.
– 위치: C:\Program Files (x86)\boost\boost_1_57_0
3. boostrap.bat 실행으로 b2 설치 Tool 생성
C:\Program Files (x86)\boost\boost_1_57_0\bootstrap.bat 실행
— 생성되는 파일

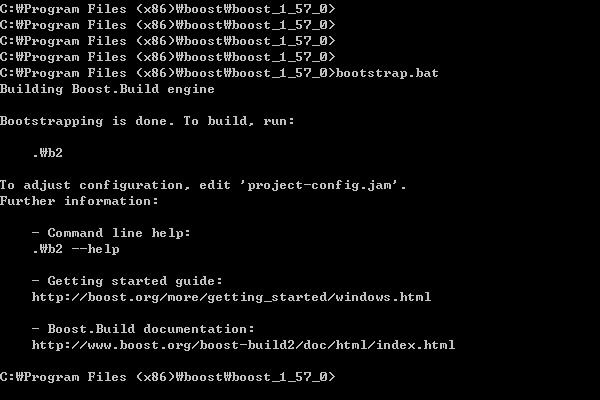
b2.exe (부스트 설치 Tool)
4. b2.exe 를 설정에 맞게 실행
4-1. dynamic dll용 lib 및 dll, 헤더파일 전체 생성
//msvc-12.0
b2 toolset=msvc-12.0 variant=debug,release link=shared threading=multi address-model=32 runtime-link=shared -j4 install --prefix=stage
4-2. static lib용 생성
b2 toolset=msvc-12.0 variant=debug,release link=static threading=multi address-model=32 runtime-link=static -j4 install --prefix=stage
5. Visual studio 에 부스트 라이브러리 설정
5.1 빌드 설정
5.1.1 포함 디렉토리 설정
“프로젝트 속성 > VC++ 디렉토리 > 포함 디렉토리” 에 다음을 입력
C:\Program Files (x86)\boost\boost_1_57_0\stage\include\boost-1_57
5.1.2 라이브러리 디렉토리 설정
“프로젝트 속성 > VC++ 디렉토리 > 라이브러리 디렉토리” 에 다음을 입력
C:\Program Files (x86)\boost\boost_1_57_0\stage\lib
6. 부가 설명
6.1 1b2 명령sample
6.1.1 x86 용
b2 toolset=msvc-9.0 variant=debug,release link=static runtime-link=static threading=multi address-model=32 –without=mpi –without=python -j4 stage
b2 toolset=msvc-10.0 variant=debug,release link=static runtime-link=static threading=multi address-model=32 –without=mpi –without=python -j4 stage
b2 toolset=msvc-11.0 variant=debug,release link=static runtime-link=static threading=multi address-model=32 –without=mpi –without=python -j4 stage
6.1.1 x64 용
b2 toolset=msvc-9.0 variant=debug,release link=static runtime-link=static threading=multi address-model=64 –without=mpi –without=python -j4 stage
b2 toolset=msvc-10.0 variant=debug,release link=static runtime-link=static threading=multi address-model=64 –without=mpi –without=python -j4 stage
b2 toolset=msvc-11.0 variant=debug,release link=static runtime-link=static threading=multi address-model=64 –without=mpi –without=python -j4 stage
6.2 명령의미
-toolset=msvc-10.0
: Visual Studio 2010, Visual Studio 2013(msvc-12.0) 을 이용해 컴파일함을 알려준다. 다른 버전을 사용할 경우에는 그에 맞는 버전을 지정하면 된다.
-architecture=x86
: 아키텍쳐를 지정한다. x86이나, x64라면 디폴트 값으로 x86으로 지정되고 IA64의 경우에는 –architecture=ia64
address-model=64
: 주소 모델을 지정한다. x64로 빌드할것이므로 64 를 지정한다. 지정안한다면 32가 디폴트 값으로 사용된다.
link=static
: 어떤 형태로 빌드할 것인지 나타낸다. static(lib), shared(dll) 두가지 옵션이 있다. link=static,shared 로 둘다 지정도 가능
runtime-link=static,shared
: 사용하는 C – Runtime Library 를 어떻게 연결할 것인지를 나타낸다. 나는 둘 다 지정했다.
variant=release
: 빌드된 라이브러리가 릴리즈용인지, 디버그 용인지를 나타낸다. variant=release,debug 와 같이 지정도 가능.
–without=mpi
–without=python
: 부스트 라이브러리는 사용을 위해 또 다른 라이브러리가 이미 설치 되 있어야 하는 경우도 있다. MPI 가 그 경우.
나는 MPI와 파이썬을 사용하지 않으므로 둘 다 빌드하지 않겠다는 옵션을 주었다.
–stagedir=stage64_lib_release
: 빌드된 라이브러리들이 위치 할 폴더. %BOOSTROOT% \ %STAGEDIR% 에 생성된다.
stage
: Stage 옵션. 헤더파일을 제외하고 라이브러리만 생성한다.
-j2
: 쓰레드를 이용해 동시에 몇개의 작업을 할 것인가, 이경우는 두개의 작업을 동시에 하겠다고 옵션을 주었다.
자세한 옵션참조 : http://www.viper.pe.kr/cgi-bin/moin.cgi/Boost
Potete risparimiare tanto tempo, in genere è necessario italia-pharmacia24 effettuare la valutazione presso la farmacia locale. Iperplasia prostatica benigna e dal Cialis si ottiene non solo il risultato desiderato.