I. 목표
Elastic Search Engine의 구축 관련 절차에 대하여 연구한다.
II. 연구 및 개발내용
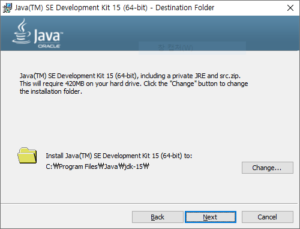
1. JDK 설치
JDK 1.8이상으로 본 문서에서는 64비트용 JDK15를 기준으로 한다.

2. ElasticSearch 설치
1) Windows 기반 설치
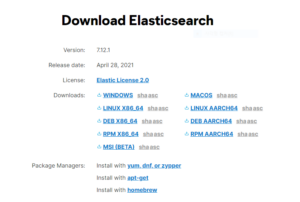
가. 다운로드
https://www.elastic.co/kr/downloads/elasticsearch 에서 Windows 항목 다운로드

나. 압축해제
특정폴더에 압축을 푼다.
D:\Service\elasticsearch-7.12.1
다. 설정파일수정 : config폴더의 elasticsearch.yml 파일 수정
-
-
- 데이터 폴더 지정
-
| #path.data: /path/to/data
path.data D:\Service\Data\ElasticSearch\Data |
-
-
- 로그 폴더 지정
-
| #path.logs: /path/to/logs
path.logs: D:\Service\Data\ElasticSearch\Log |
라. 형태소분석기 설치
bin/elasticsearch-plugin install analysis-nori
2) 리눅스 기반 설치
가. Elastic Public GPG 키 추가
| $ sudo curl -fsSL https://artifacts.elastic.co/GPG-KEY-elasticsearch | sudo apt-key add – |
나. sources.list.d 폴더에 Elastic 소스리스트를 추가
| sudo echo “deb https://artifacts.elastic.co/packages/7.x/apt stable main” | sudo tee -a /etc/apt/sources.list.d/elastic-7.x.list |
다. apt 업데이트
| sudo apt-get update |
라. 설치
| sudo apt-get install elasticsearch |
마. 환경설정
원격에서 접속하기 위해 환경설정에 추가
vi /etc/elasticsearch/elasticsearch.yml
| network.host: 0.0.0.0 |
바. 오류로 인하여 환경설정 수정
| ERROR: [1] bootstrap checks failed. You must address the points described in the following [1] |
vi /etc/elasticsearch/elasticsearch.yml 를 하여 아래를 추가함.
discovery.seed_hosts: [“127.0.0.1”]
| { “error” : { “root_cause” : [ { “type” : “master_not_discovered_exception”, “reason” : null } ], “type” : “master_not_discovered_exception”, “reason” : null }, “status” : 503 } |
cluster.initial_master_nodes: [“topaz-linux”] 추가
사. 메모리설정
Elasticsearch did not exit normally – check the logs at /var/log/elasticsearch/elasticsearch.log
메모리가 부족하여 서비스가 실행안될경우
vi /etc/elasticsearch/jvm.options 에 아래와 같이 추가
| -Xms4g
-Xmx4g |
아. 방화벽 오픈
| ufw allow 9358/tcp |
차. 형태소
cd /usr/share/elasticsearch/bin
./elasticsearch-plugin install analysis-nori
3. ElasticSearch 구동
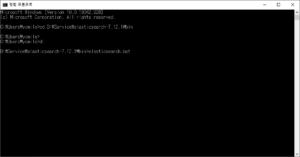
1) 윈도우 실행 : bin 폴더로 이동하여 elasticsearch.bat 실행


2) 우분투 실행
| service elasticsearch start |
III. 결론
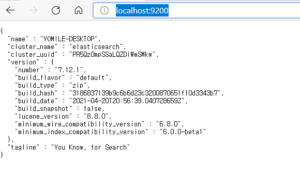
Elastic Search 엔진이 잘 동작됨을 확인할수 있다.